O Ring vs. X Ring vs. Standard Dirt Bike Chain and Everything in Between
Dirt bike chains play a pivotal role in transferring the power of your dirt bike engine to your rear wheel, which is why it's crucial to not only have the correct chain on your off-road bike, but also keep up regular maintenance and replacement when needed.
What's the difference between a regular chain, an o-ring chain and an x-ring chain?
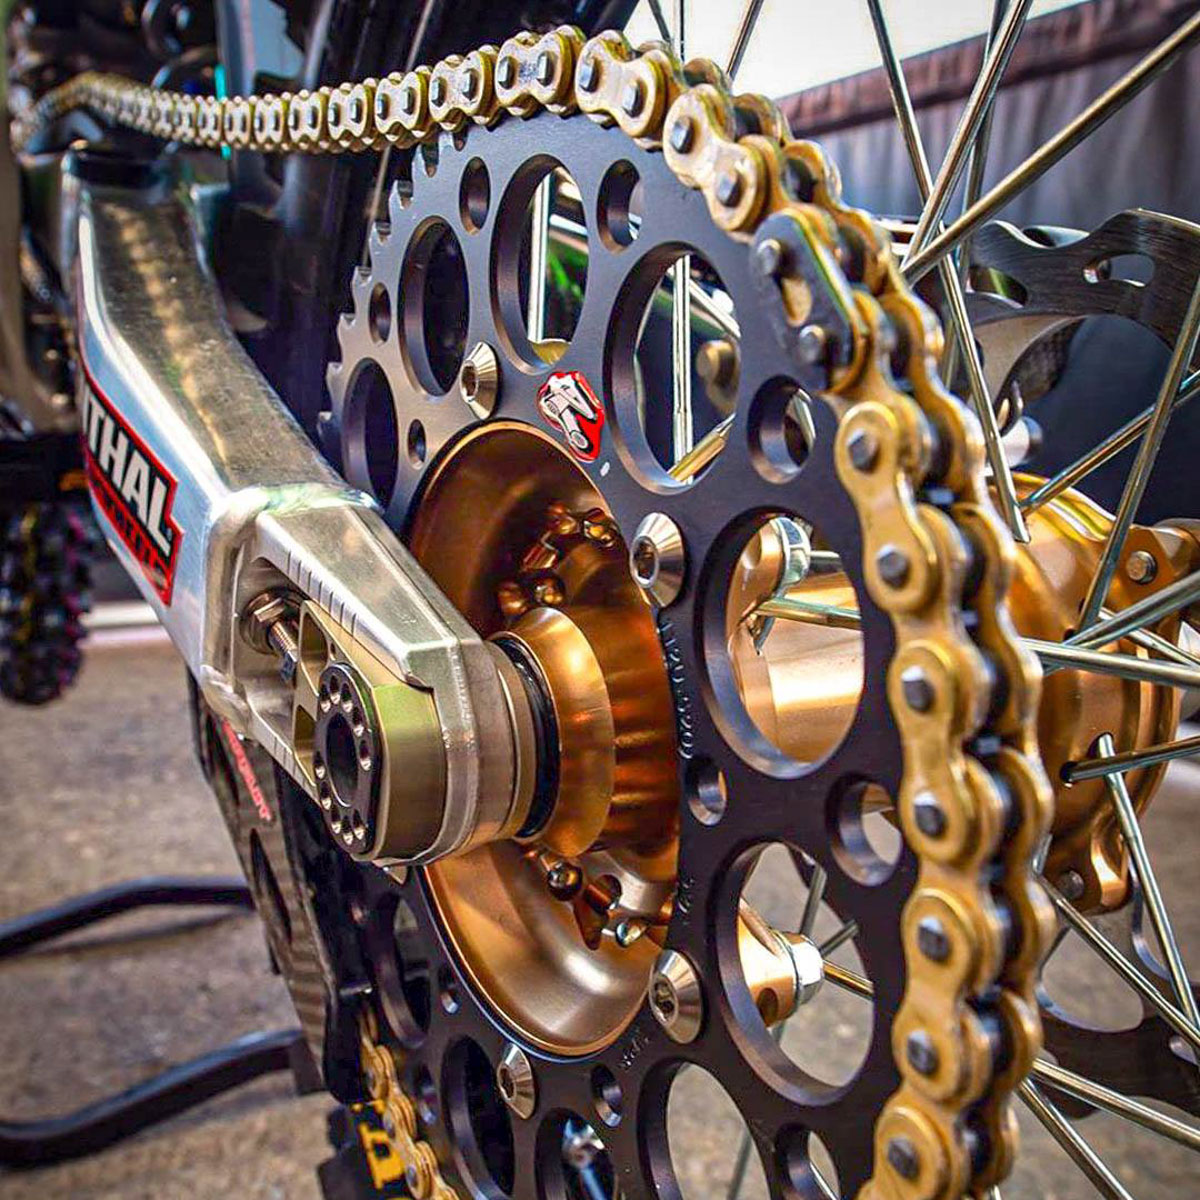
There are three types of chains when it comes to motocross and enduro bike: a regular chain (which comes standard), an o-ring chain, or an x-ring chain. An o-ring has, well, o-rings between the outer and inner link plates, which seal grease in the pins and rollers for greater lubrication and durability. Then you have an x-ring chain which still utilises an o-ring however from a side profile the o-rings have a different profile in the shape of an X, hence the name x-ring chain.
A standard chain is cheaper and has less drag compared to an o-ring chain however, it won't last anywhere near as long as an o-ring chain. The drag you get from an o-ring chain isn't that noticeable to an everyday rider or even some racers because they’re not only cheaper but there are no downfalls when it comes to performance. An o-ring chain is heavier and is known to sap a fraction of power (most of us would hardly notice), however they are known to last more than twice as long as a regular chain. This is where x-ring chains come in
Choosing between the two comes down prioritising if you want an inexpensive chain that will need to be replaced more often, yet doesn’t have any performance downfalls (a regular chain), or a more expensive chain that will usually have more than double the life of a regular chain with a slight performance downfall (an o-ring chain).
What size dirt bike chain do I need?
Motocross and enduro chains are available in a selection of common sizes, which are based on pitch and length. It’s incredibly important to select the right chain for your dirt bike, as an incorrect chain may not even fit, and if it does, there’s potential for it to cause damage or an accident.
The best way to tell what size chain you need for your dirt bike is by referring to your owners’ manual, which will indicate the appropriate size for your bike. Alternatively, chain manufacturers will state the pitch on certain links of the chain, so you can always inspect your current chain for its type. The length of a chain is determined by the number of chain links, and you may need to remove links when your new chain arrives.
Chain sizes, or pitches, are typically known as or come in sizes such as 420 Chains, 428 Chains, 520 Chains, 525 Chains and 530 Chains.
How do I tighten my chain on a dirt bike:
Tightening your chain is a basic bike maintenance skill every rider needs to know, and it's super simple and easy.
Firstly, you'll need to loosen the rear axle nut - you don't need to remove it, just ensure it's loose. Next is loosening the locking nuts on the chain adjusters in or on the swingarm.
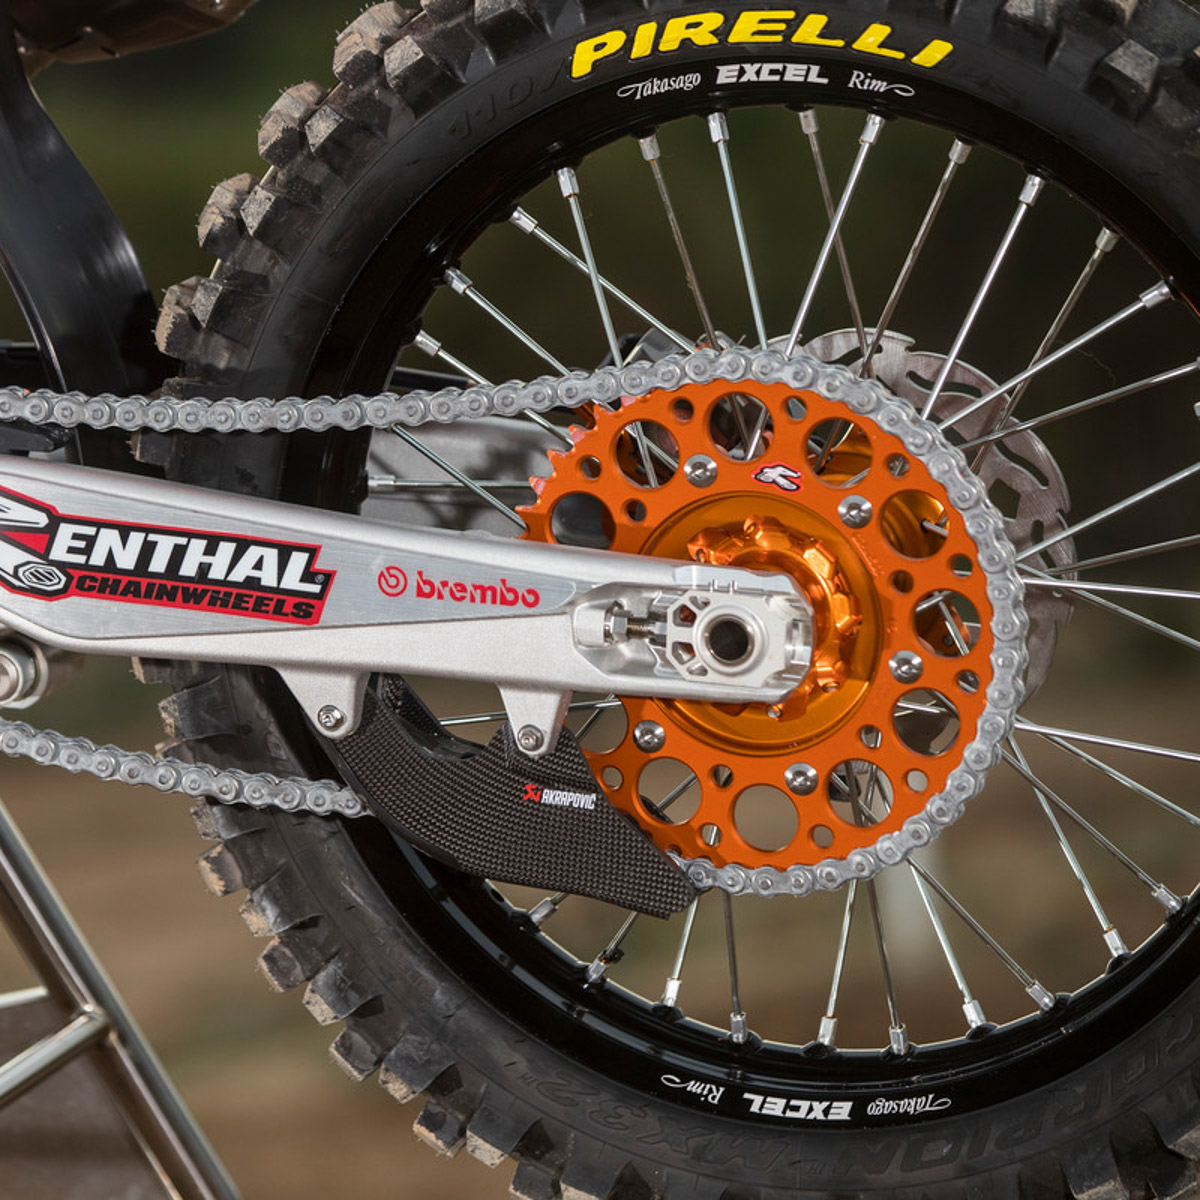
Now it's a case of moving the axle block via the chain adjuster bolt to the correct tension - a general rule is two fingers should be able to fit between the chain and the top of the swingarm near the chain roller. Remember to ensure the axle blocks line up with the same markings on both sides of the swingarm.
A good practice is to put a spare spanner between the chain and rear sprocket, and then rolling the rear wheel back - this will keep the chain tensioned and won't allow it to move.
Now you can tighten the chain adjuster nuts - ensure the chain adjuster bolts don't move while you're tightening them, as this will cause the wheel to move. Follow by this, it's time to tighten the axle nut before removing the spanner from between the chain and sprocket. Doublecheck the chain is correctly tensioned, as well as ensuring the axle blocks are equal on both sides.
How do I clean and lube my dirt bike chain:
Cleaning your dirt bike chain is as simple as hitting it with your pressure washer every time you clean your bike. You want to make there is no dirt and grime stuck to it, and it should somewhat return to its normal colour.
Immediately after washing your bike, you need to use a dirt bike-specific chain lube - this will extend the life of your chain by preventing corrosion, while also ensuring it continues to work as it should. It's also advised to spray chain lube on your bike between rides and motos to keep it moving it smoothly.
When should I replace my dirt bike chain?
Determining when to replace your dirt bike chain comes down to three signs: back and forth movement, space between your chain and rear sprocket, and side to side movement.
To check for back and forth movement, simply hold a link and pull the link on either side back and forth - if there's movement, it's time for a new chain.
If there’s back and forth movement between links, there's a good chance there will be space between the rear sprocket and the chain when you pull a link backwards.
The final indicator to tell if your chain needs replacing is if there is side to side movement. You can check this by twisting the chain - if you can twist it, it needs replacing, if you can't it's still good to go.
How do I install a new dirt bike chain?
Installing a new chain requires a number of tools, including:
- Rear axle wrench
- Chain breaker
- 10mm & 12mm spanners
- Master link chain pliers
The begin with, you'll want to remove your front sprocket cover if you have one, followed by removing your old chain. Use your master link pliers to remove the master link (sometimes referred to as the connecting link), and then slide the pin and link out and take the chain off the bike.
Ensure you don't cut your new chain to the same length as your old one, as it would've stretched over its lifetime. Roll the chain on and recheck the measurement before cutting it to size.
Now you'll need to line-up the master link of your new chain, and you will need to adjust the wheel to a position on the swingarm using the chain adjusters to get the required length for the correct chain adjustment (see above for how to tighten your chain).
Once you've found the sweet spot with the correct amount of tension, you can cut the chain to correct length with your chain breaker. Now it's a case of installing your master link - o-ring and x-ring chains will require you to install the o-rings in the master link.
Doublecheck the clip link is facing the correct way, with the open end facing the rear of the bike - this is to prevent the clip from ever accidentally removing itself while out on the track and trails.
A fresh chain will come with a wax coating, so you won't have to lube your new chain. Ensure you check the tension of the chain following your first ride, as it can stretch and will need readjusting.
Should I replace my sprockets at the same time?
Absolutely! Most of the time, your chain and sprockets will need replacing in a similar timeframe, so it's always best to replace them altogether. Using a new chain on old sprockets can reduce the life of the chain, while using an old chain on new sprockets can also cause them to wear out more at a quicker rate.


