How to Wash Your Dirt Bike With a Pressure Washer

Have you ever wondered how some dirt bikes are kept so fresh after hours of riding? Well, it comes down to regularly washing a dirt bike using a number of important techniques. The garden hose will take much longer than a pressure washer to remove the build-up of sprocket grime and to wash a dirt bike effectively! We’ve learned a few tricks and techniques over the years to keep our bikes as fresh as possible, and we’re going to share them with you.
1. Keep the water out!
The first step is pretty commonly known, and that’s to block off all the openings on the bike, so that means a wash plug in the muffler and an airbox wash cover. We remove the air filter and use an airbox wash cover, and these are an absolute must-have because they allow you to thoroughly wash the airbox, which will make things cleaner and easier when you go to put in a fresh air filter for the next ride. We’ll also spray some degreaser around the airbox (stay clear of your battery, if you have one), and we do that to remove any air filter oil that has made its way onto airbox plastic from installing or removing the filter, plus to get rid of any dirt that’s become stuck.

2. Soaking the bike
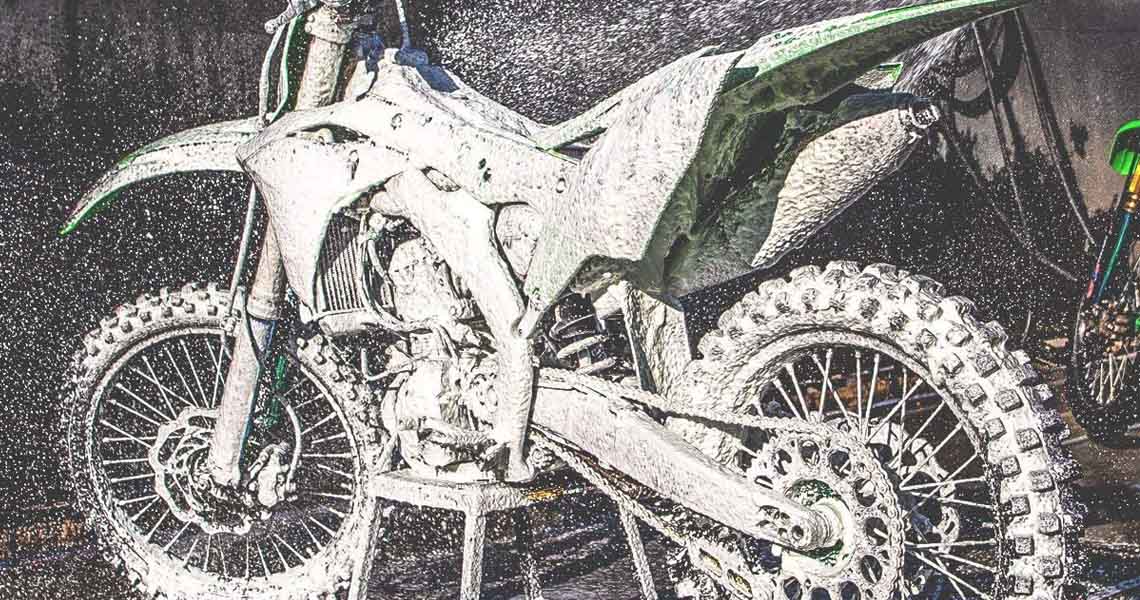
The second step after blocking the openings is foaming up with the bike with a bike cleaner or soap. You can use a foaming canister and nozzle that’s attached to the pressure cleaner, which makes life much easier. It’s usually best to wait a few minutes to allow the wash to do its job before going over it with the pressure washer, this helps eat away at the mud making it easier to remove making the entire process faster.

3. Clean the bike
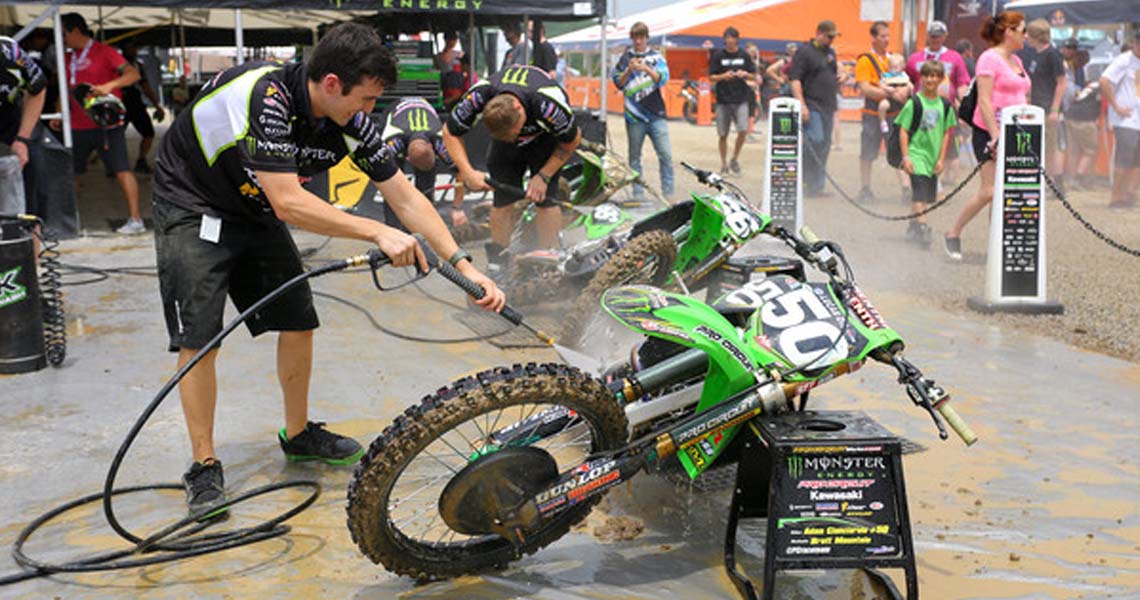
Step number three is actually washing the bike with a ‘dirt blaster’ nozzle on your pressure washer, and the best process for doing this is cleaning from top to bottom. Now you might be thinking what’s the difference between starting at the top and working your way down, and well, it’s so the soap and dirt are continually being washed off. If you start from the bottom, the dirt from the top of the bike will simply be pushed down, and you’ll add the workload. Remember to wash the bike from different angles to get all of those hard to reach places, including taking it off the bike stand and cleaning under the engine. Be careful not to blast your bike graphics or seat cover from close range, as it can damage them due to the power of the pressure washer. An extra step you can take is to remove the plastics, but this isn’t always necessary and is something we only do when our bikes are really dirty or when we have just ridden in the sand, as sand tends to get into places you never thought possible.

4. Soap, scrub and rinse
The next step is to repeat the foaming and washing process all over again. If you have a brush attachment for pressure cleaner, this is where you can use it, or alternatively, you can use a sponge. After re-soaping the bike, use the brush or sponge to scrub down the bike and remove any marks. Really focus on scrubbing the swingarm, wheels, and spokes, as well the plastics and frame - you’d be surprised just how much of a difference this makes in removing stains. You can use steel wool or scotch bright to remove those stubborn boot marks from the frame and engine cases. After this, we use all the techniques from step three and completely wash and rinse the bike. If it’s super muddy, we’ll do this process again, but generally going over the bike twice is enough.

5. Lubricating
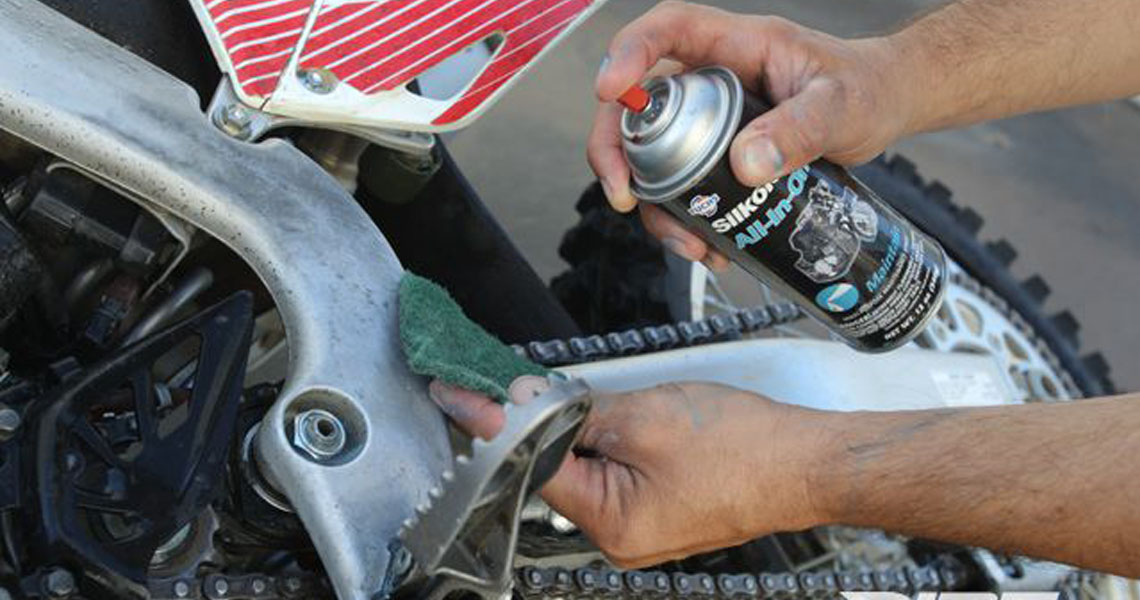
Now the final step is spraying the bike with lubricants so it doesn’t corrode - before you do this, you can use an air compressor to spray off any sitting water, or even go over it with a towel to dry any excess moisture. The first thing we do is spray the chain with chain lube, and then we follow that up by spraying the metal components of the bike (stay away from your brakes!) with a silicone spray. This will protect the bike and give it a nice shine until the next time you hit the track or trail!


.jpg)
.jpg)