Internet Explorer is no longer updated for Windows and may not work properly with MXstore.
Please upgrade it now to keep shopping for the latest dirt bike gear and accessories!


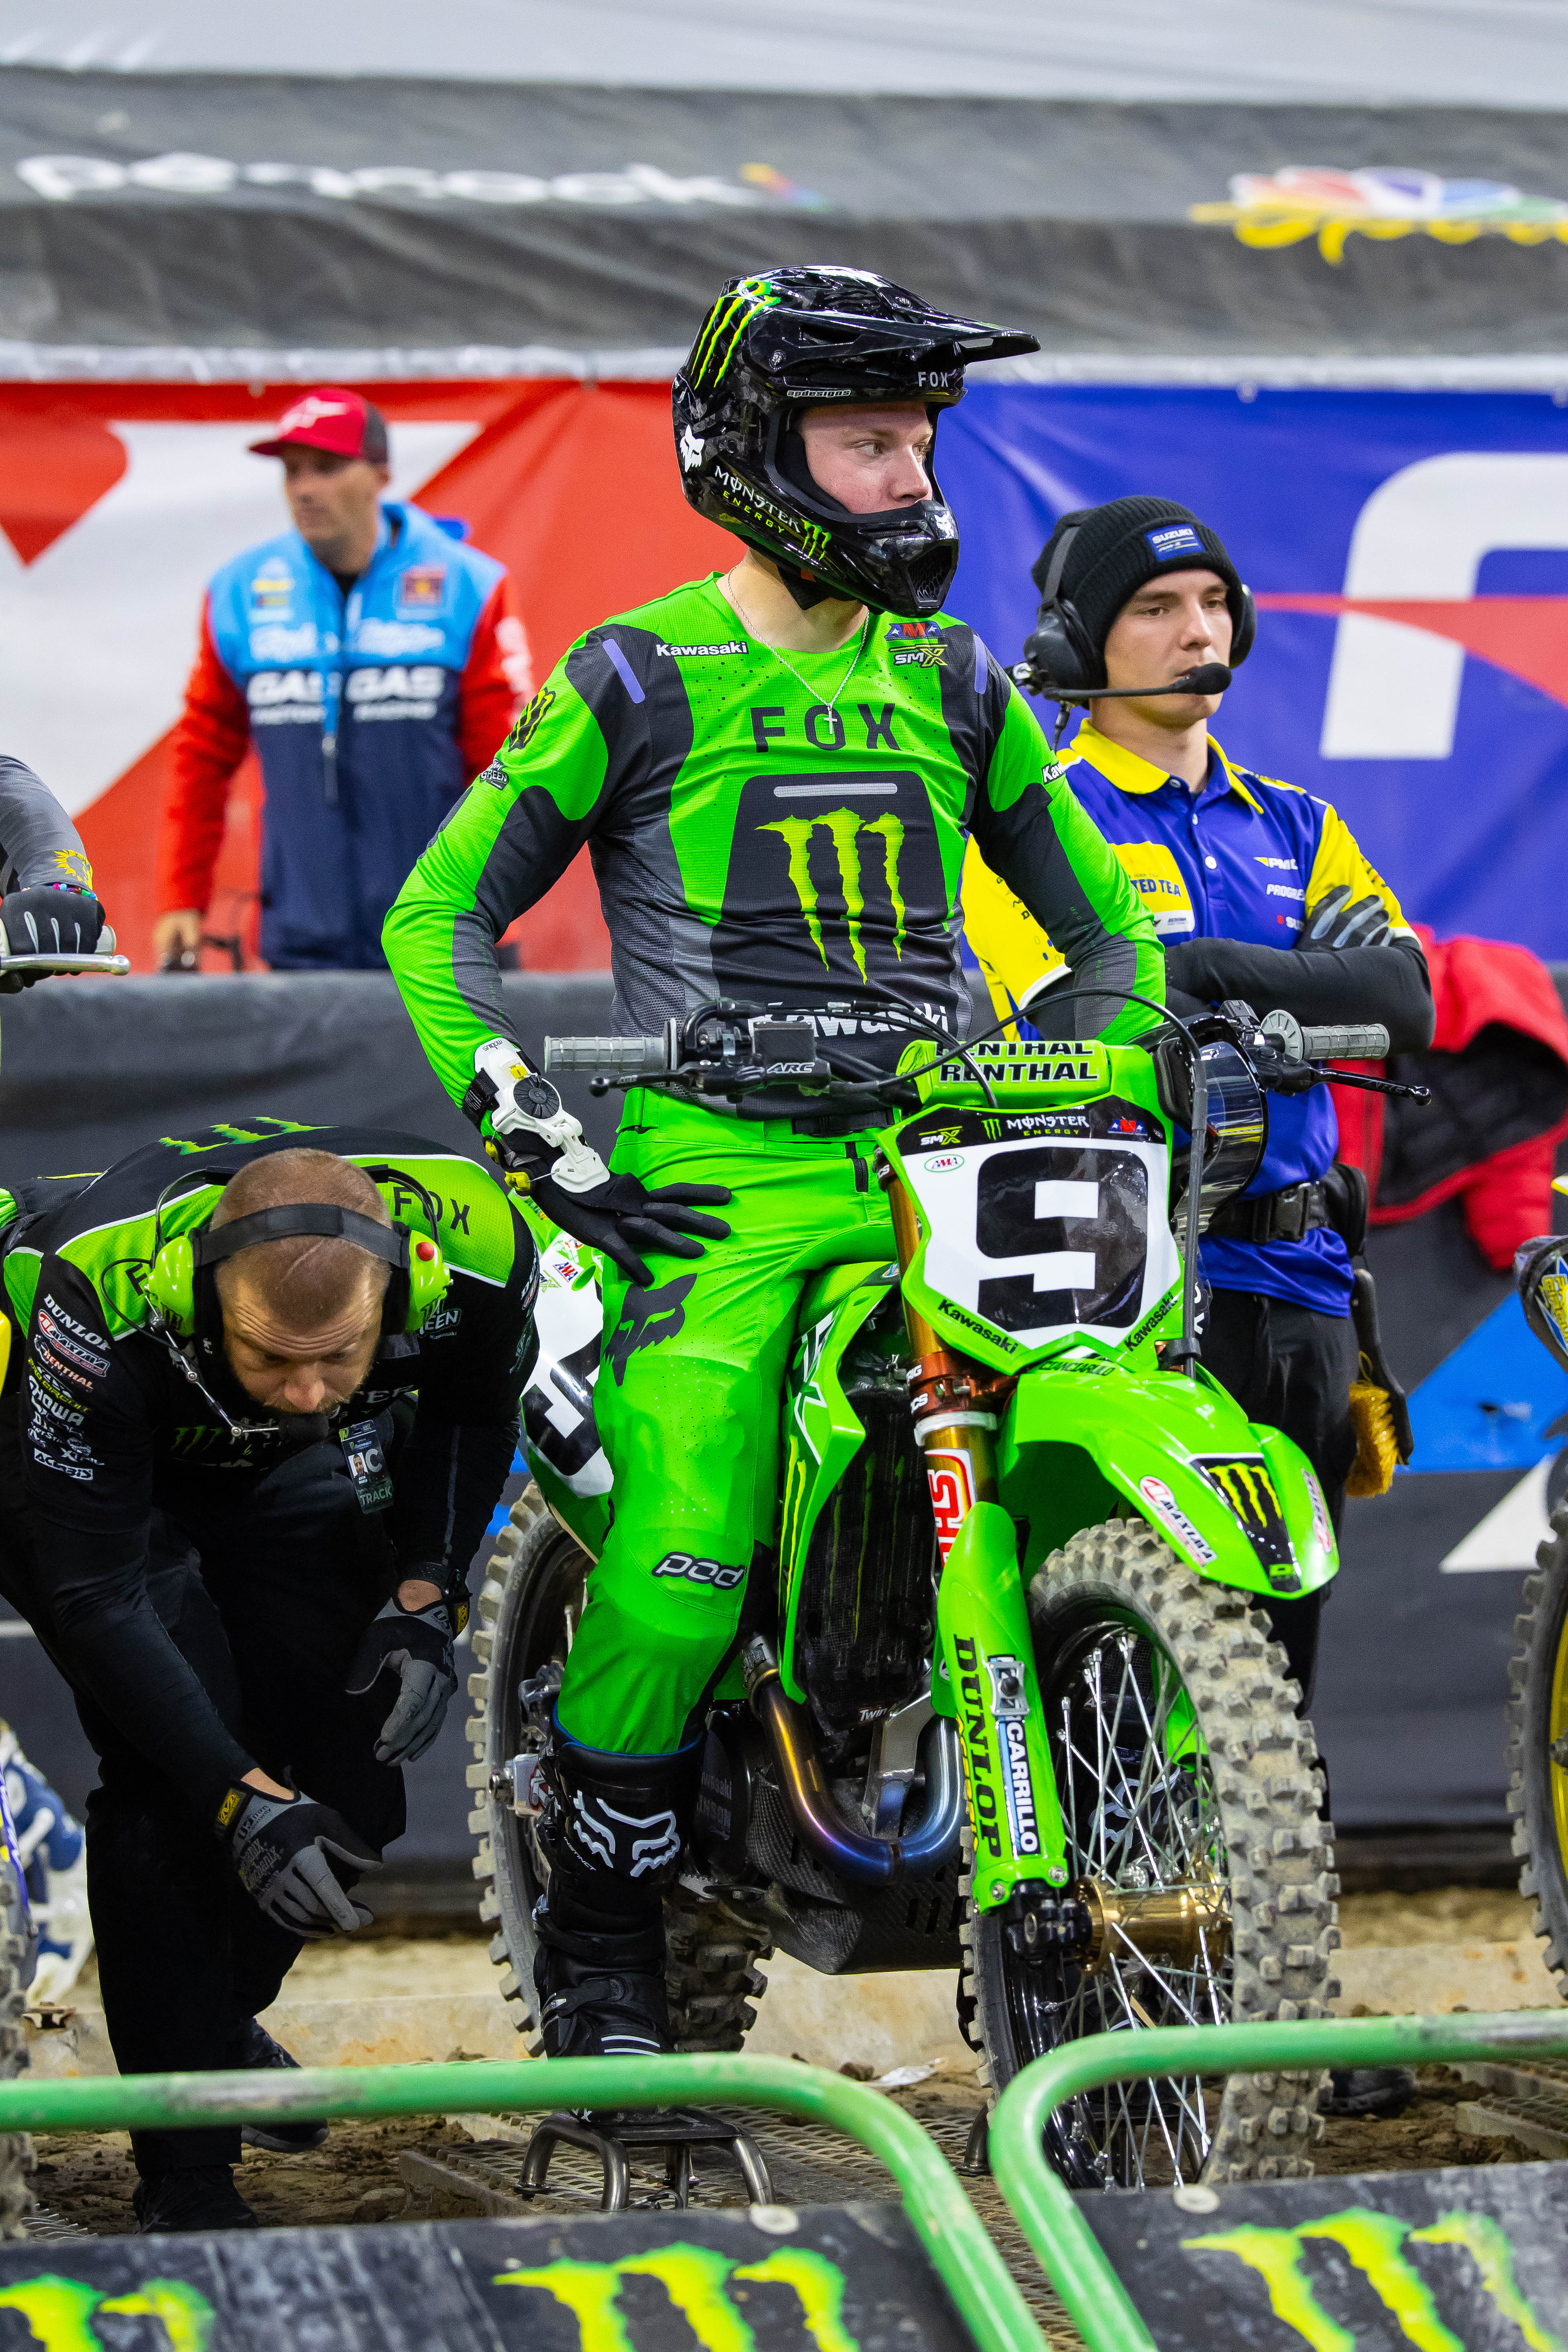
Ultimate Guide To Holeshot Devices

A good start can make all the difference, whether that’s winning or a decent finish, there’s no doubt it matters. A holeshot device is commonly fitted to race bikes to help pull that all-important start, you probably won’t find a dirt bike on the start line at a local or pro race without one.


What is a dirt bike holeshot device?
With a holeshot device engaged the forks are held in a compressed position, keeping the front wheel low ensuring you get all the power to the ground. The device is mounted to the right fork leg and is locked in position by either a button or clip (depending on the design). When the suspension is further compressed, usually upon breaking into the first corner, the launch device will disengage allowing the forks to decompress.
How does a dirt bike holeshot device work?
A start is all about getting the drive out of the gate to stay out of the carnage and lead the field into the first corner. Technique is the recipe to a good start, elbows bent, chest over the front of the bike so you’re firmly planted in the ‘attack position.’ A launch device compliments body positioning by locking the forks in a compressed position to lower the front end. Think about it, go from sitting stationary on the start line to grabbing a handful of throttle, the rear hooks up and the front end wants to lift. Keeping the front wheel down allows for maximum traction to the rear wheel and acceleration down the start straight to clinch that all-important holeshot.
The holeshot device consists of a collar mounted around the fork tube and a latch or button mounted on the fork guard. Most of the time it’s a two-person job to compress the forks with the second person locking them in place.
How do I choose a dirt bike holeshot device?
The traditional holeshot device uses a spring-loaded button design, there are many options available but these are still the most affordable. Some holeshot devices are universal, though most launch devices are bike-specific as each bike has different forks and the mounting position of the clamp on the fork leg will differ between models and manufacturers.
Works Connection Pro Launch uses a minimalistic 'trigger' that locks the fork in with powerful magnets. The solid fork ring design reduces weight and minimises failure points, it's simple to set and is the most popularly used holeshot device by premier race teams across the world.
Dual-button systems like the Ballards holeshot device use the traditional spring-loaded button, with varying starting surfaces and terrains the two button options allow you to choose how low you want to compress the forks down.
As setting a launch device can be a tricky two-person job, Pro Taper came out with their SELA (Self-Engaged Launch Assist) holeshot device. The twist dial allows you to independently set the button and then compress your suspension to lock it down, this is also a more universal design to suit most late-model full-size bikes.


How do I install a dirt bike holeshot device?
Installing a dirt bike holeshot device is a pretty simple process, you'll just need a few tools:
- Drill
- Allen key set
- 8mm, 10mm, 12mm t-bars
- Box cutting knife
Step 1: On the right fork guard decide on your button placement, how far down the fork guard you install the button will impact how compressed the fork is. Some holeshot devices will come with templates to help with this.
If you aren't using a template it may be easier to measure and mark with the fork protector on the bike as you will be able to visualise where the button will end up. Ensure you get the measurement as close to the centre of the protector as possible, a centrally placed holeshot button will be easier to use.
Step 2: Remove the fork guard and check your measurements by holding the device in the desired position. Once you are happy with the location, drill the larger centre hole first. Use a drill bit slightly larger than the plunger to allow the button to move in and out freely.
Step 3: Once the centre hole is drilled, you can line up the outer two or four other holes (depending on what brand holeshot device you have) and mark them to be drilled. If you aren’t confident with how well the holes are lined up, start with a smaller drill bit and work your way up from there. The holes will need to be countersunk on the inside of the fork guard to make sure there are no protruding screws when the button is fitted, take your time to make sure everything lines up correctly before you put it back onto your bike.
Step 4: This will vary from brand to brand but as a general rule, the best way to install the locking ring is to remove the front wheel and fork leg so you can slip the collar over the top of the fork. Avoid stretching the ring over the fork leg as you will bend and damage the aluminium ring.
Step 5: Leave the collar loose and reinstall the fork, wheel, and fork protector then check the alignment of the button and collar, if all is good tighten to lock in place. Ensure you check the device’s operation by loading the button and then pushing the front end down to release it.
Step 6: Give the bike one last check over to ensure everything is tight and working freely. Practice your starting technique, just like any part of racing, you can improve your skills by putting time into practicing them!
PC: Align With Us